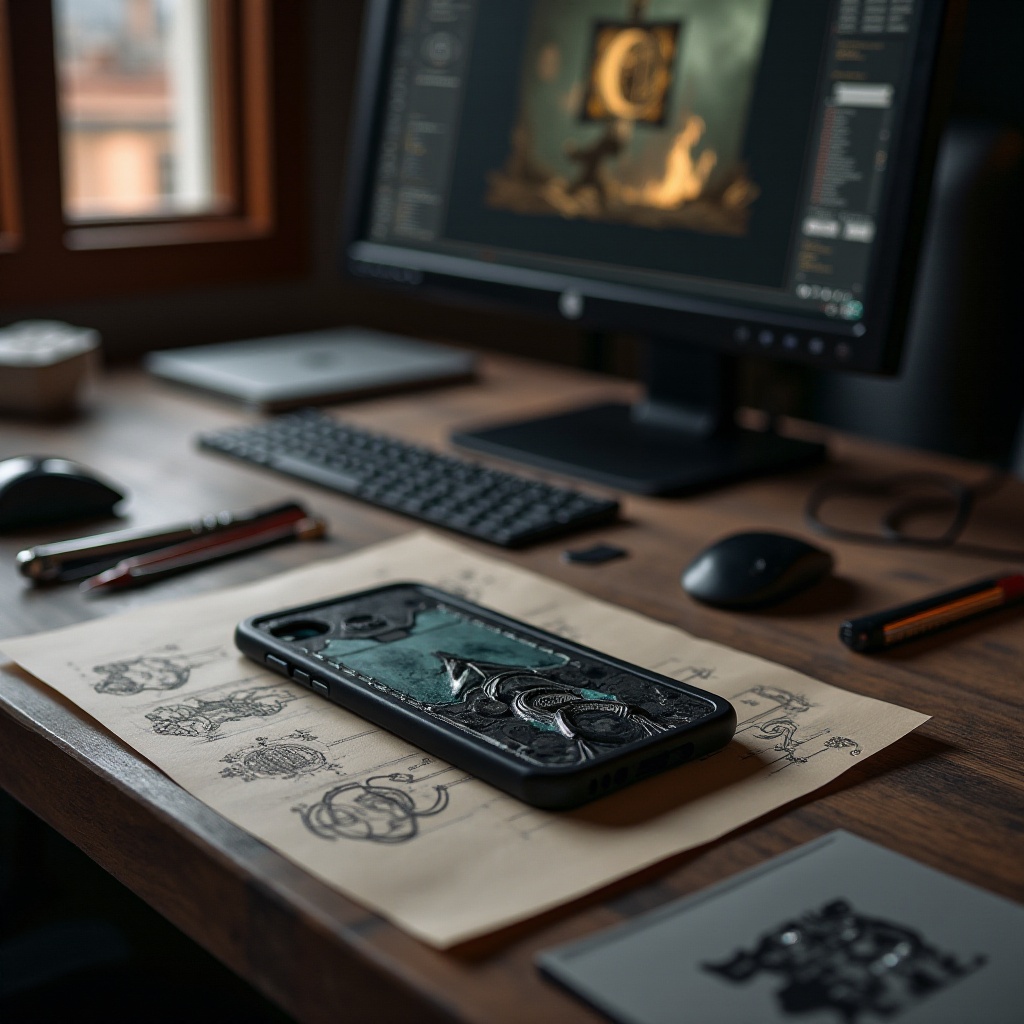
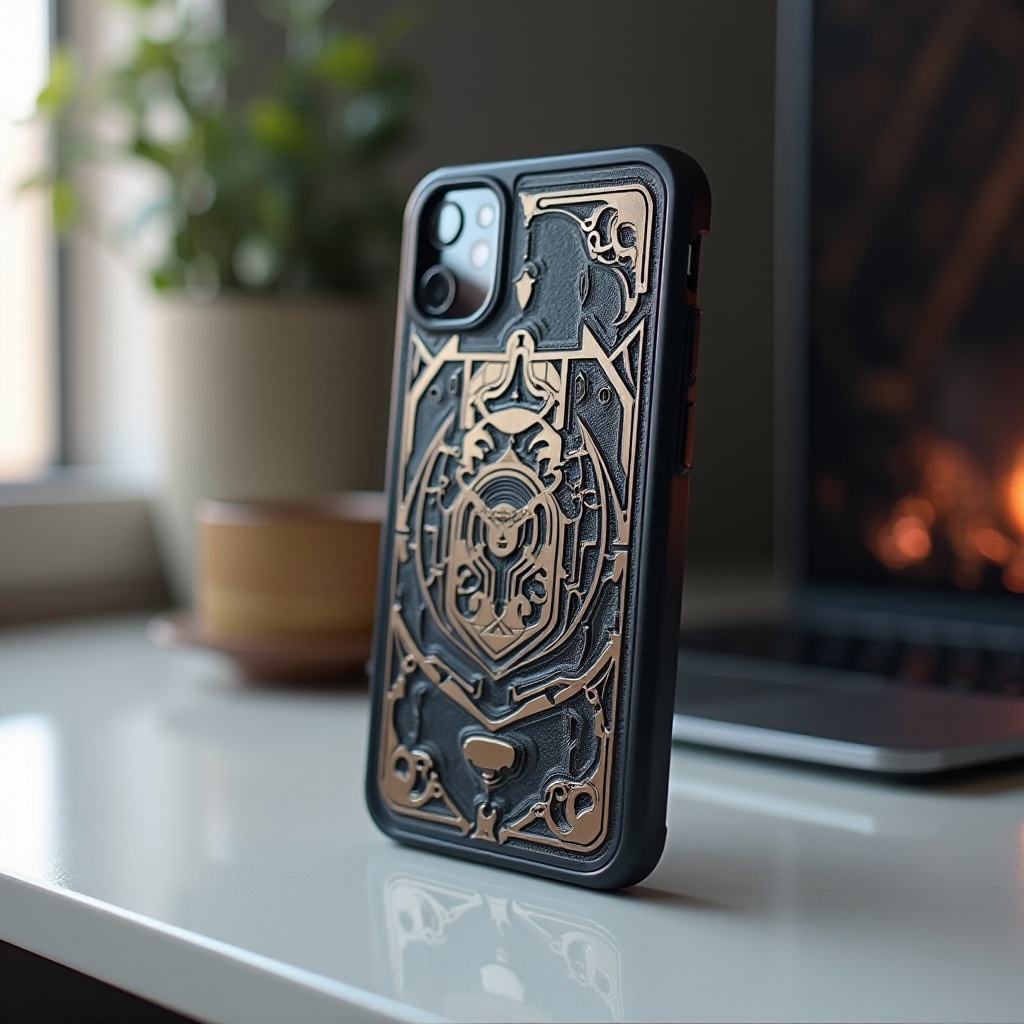
Introduction
Creating a custom phone case offers a fantastic opportunity to blend functionality with personal style. A custom Doom-themed phone case adds a layer of personalization and a nod to the iconic game loved by many. This guide aims to take you through the process of designing, 3D modeling, printing, and finishing a Doom-inspired phone case. By following these steps, you can craft a unique accessory that not only protects your device but also showcases your passion for the legendary series.

Understanding 3D Modeling for Phone Cases
Before diving into the design process, it’s essential to grasp the basics of 3D modeling. 3D modeling allows you to create a three-dimensional representation of an object using specialized software. This technology has revolutionized various fields, including custom phone case design. The ability to customize every aspect of your phone case ensures a perfect fit and unique appearance.
3D modeling involves creating wireframe structures, adding details, and ensuring the model’s dimensions match your phone’s specifications. This process ensures a snug fit and allows for any design element you wish to include. Whether it’s intricate patterns or specific textures, 3D modeling provides the flexibility to bring your creative ideas to life.
Gathering Inspiration from Doom’s Design
Doom, a groundbreaking first-person shooter game, bursts with distinctive elements that can be infused into your phone case design. From its iconic logo to infamous demons and game environments, the aesthetic elements of Doom provide a rich source of inspiration.
Begin by exploring various elements within the game that resonate with you. This could include textures from the game’s environment, character features, or specific symbols and logos. Take screenshots, sketch ideas, and compile a visual library to guide you in the design process. The goal is to capture the essence of Doom while aligning with the functionality and durability required for a phone case.
Having gathered your inspiration, the next step is to choose the right tools and software necessary for bringing your creative ideas to life.

Getting Started: Tools and Software Needed
To create a custom Doom phone case, you’ll need the right tools and software. Here’s a basic list to get you started:
- 3D Modeling Software: Options include Blender, Tinkercad, or Fusion 360. These programs vary from beginner-friendly interfaces to advanced professional tools.
- A Computer: Ensure it has the processing power to handle 3D modeling software, especially if adding intricate details to your design.
- A 3D Printer: If you don’t own one, there are printing services available that allow you to upload designs and have them printed and shipped to you.
- Filament/Printing Material: Choose from PLA, ABS, or other materials suited for phone cases.
- Post-Processing Tools: Sandpaper, paint, and other tools for adding finishing touches to your phone case.
Gathering the right tools and software lays the foundation for creating a successful Doom-themed phone case. With these in hand, you can start the design process with confidence.
Step-by-Step 3D Modeling Process
Creating your Doom phone case involves several steps, from initial design to the final 3D model.
- Measure Your Phone: Start by measuring your specific phone model to ensure accurate dimensions.
- Open Your Software: Use your chosen 3D modeling software. Open a blank canvas and set the dimensions based on your phone’s measurements.
- Create the Basic Shape: Begin modeling the general shape of the phone case, ensuring cutouts for buttons and ports.
- Add Doom Designs: Using your visual library, begin incorporating Doom-inspired elements. This could involve adding textures, logos, or even 3D elements from the game.
- Check Fit: Regularly check the fit by comparing your model against your phone’s dimensions. Use the software’s built-in tools to ensure precision.
- Finalize the Model: Once satisfied with the design, finalize the model. Check for any potential weak points or areas needing extra reinforcement.
Following these steps will ensure your custom Doom phone case is both functional and visually striking.
3D Printing Your Doom Phone Case
With the 3D model complete, it’s time to move on to the printing process. Here are the steps to follow:
- Prepare the File: Export your 3D model from your software in a format compatible with your printer, such as STL.
- Setup the Printer: Load the filament/material and adjust any settings specific to your design’s requirements, such as print speed and temperature.
- Print the Design: Start the printing process and monitor it to ensure everything goes smoothly. Depending on the complexity and printer speed, this can take several hours.
- Remove and Inspect: Once printed, carefully remove the phone case from the printer bed and inspect for any imperfections or issues.
Successfully printing the case brings your digital design into the physical world. The next step is to add any finishing touches that will make your phone case stand out.
Finishing Touches: Painting, Detailing, and Assembly
To complete your Doom phone case, add some finishing touches:
- Sanding: Smooth out any rough edges or layers from the printing process using fine sandpaper.
- Painting: Use spray or hand-painting techniques to add color and details. Choose paint suitable for the material used in printing.
- Detailed Additions: Add intricate details using fine brushes or other tools. Consider using stencils for precision in painting logos or textures.
- Assembly: If your design includes separate components, carefully assemble them. Ensure everything fits snugly and securely.
These finishing touches elevate your phone case from good to extraordinary, highlighting your attention to detail and dedication to the theme.
Sharing Your Creation with the Community
Once your Doom phone case is complete, share your accomplishment with others. Online platforms like Thingiverse, Reddit, and social media channels allow you to showcase your design. Sharing your creation not only provides inspiration to others but also opens up a space for feedback and potential improvements. Engage with the community, answer questions, and enjoy the recognition for your creative efforts.

Conclusion
Creating a custom Doom phone case is a rewarding project that combines creativity with practical skills. From initial design inspiration to the final touches, each step offers an opportunity to personalize your device in a unique way. By following this comprehensive guide, you’ll craft a phone case that not only protects your device but also pays homage to a gaming classic. So gather your tools, fire up your imagination, and start designing your custom Doom phone case today.
Frequently Asked Questions
What software is best for designing a phone case 3D model?
Blender, Tinkercad, and Fusion 360 are popular choices, offering different levels of complexity and features suitable for beginners and professionals.
What materials are recommended for 3D printing phone cases?
PLA and ABS are commonly used materials due to their durability and ease of use. PLA is more environmentally friendly, while ABS offers more strength and flexibility.
How can I ensure my custom phone case will fit my device perfectly?
Always start with precise measurements of your phone model. Regularly compare your 3D model with these dimensions during the design process and use software tools to check the fit before printing.